Working with tables
Several ways to work with tables are available:
- Sorting;
- Changing the position of a column in the table;
- Quickly configure a column in a table;
- Removing a column from a table.

To add a new column to the table, click on the button in the table header's right corner. You can also open the Add column dialog using the Shift + C shortcut.

After selecting the required column, the column will immediately be added to the table.

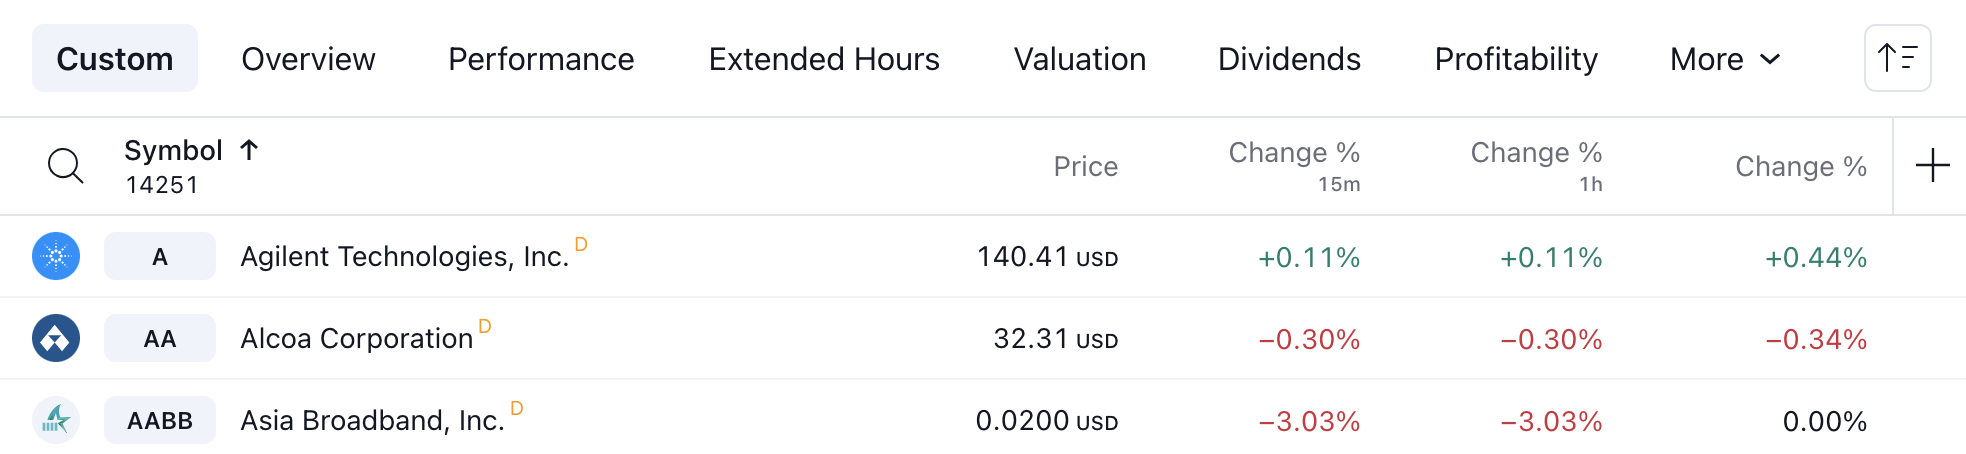
Adding the same indicator to the new Screener is possible but with a different set of parameters. For example, you can add a Change % column with a different set of timeframes:
To sort by column, click on the column header and select the column sorting direction.

To change the position in a column, you can use the move options:
You can also move a column to any location by grabbing the column header and dragging it to a new position:
To change the configuration of a column in a table, in the context menu, you need to select the Column settings action and set new column parameters:
Select the Remove action in the context menu to remove a column in a table. The selected column will be removed from the table.
