sebbyj6
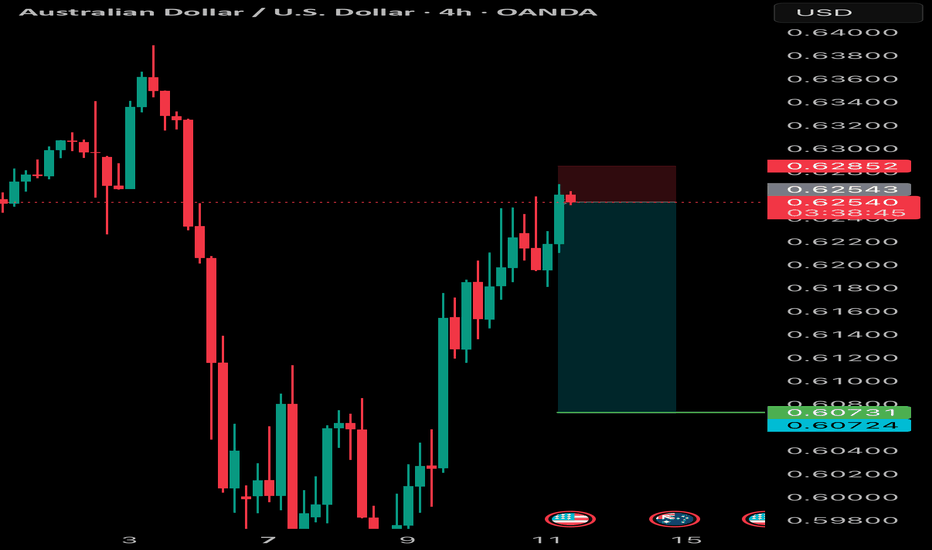
STRONG SUPPLY ZONE Fair value gaps to fill Amazing Range 2:41 Risk Reward, Let's See!
Strong Demand Zone Multiple Rejections at the zone Price has to fill the gaps to the left 3:1 Risk Reward Let’s See:)
STRONG SUPPLY ZONE Fair value gaps to fill Amazing Range 5:89 Risk Reward, Let's See!
Supply Zone Price could potentially break previous support zones 5:1 Risk Reward, Let's see!
Supply Zone Price is starting to break previous support zone 2:1 Risk Reward, Let's see!
Supply Zone Price is starting to break structure Lower lows gradually being formed 2:67 Risk Reward, Let's see!
Strong Demand Zone Price will eventually fill in fair value gap 2:1 Risk Reward, Let’s see!
Strong Demand Zone Break and Retest valid 2:1 Risk Reward Let’s See:)
Strong Demand Zone Price has to fill the gaps to the left 4:63 Risk Reward Let’s See:)
Strong Demand Zone Price has to fill the gaps to the left 2:5 Risk Reward Let’s See:)
STRONG SUPPLY ZONE Look how price reacted to this on the left Formed a strong supply area Expecting a 3:2 Risk to Reward Let’s see!
STRONG SUPPLY ZONE Look how price keep making lower highs and breaking structure Expecting a 4:1 Risk to Reward Let’s see!
Strong Demand Zone Price has to fill the gaps to the far left 2:6 Risk Reward Let’s See:)
STRONG SUPPLY ZONE Look how price reacted to this on the left Formed a strong supply area Gaps to fill Resting liquidity below Expecting a 4:2 Risk to Reward Let’s see!
STRONG SUPPLY ZONE Look how price reacted to this on the left Formed a strong supply area Gaps to fill Expecting a 6:1 Risk to Reward Let’s see!
STRONG SUPPLY ZONE Look how price reacted to this on the left Formed a strong supply area Expecting a 4:9 Risk to Reward Let’s see!
STRONG SUPPLY ZONE 2:55 Risk to Reward Gaps to fill to the left Let's See:)
STRONG SUPPLY ZONE Double Top Pattern 3:1 Risk to Reward Let's See:)


